

RV Storage in Burnet: Spring Startup Checklist After Winter Parking
RV Storage in Burnet: Spring Startup Checklist After Winter Parking
Habib Ahsan
April 5th, 2026
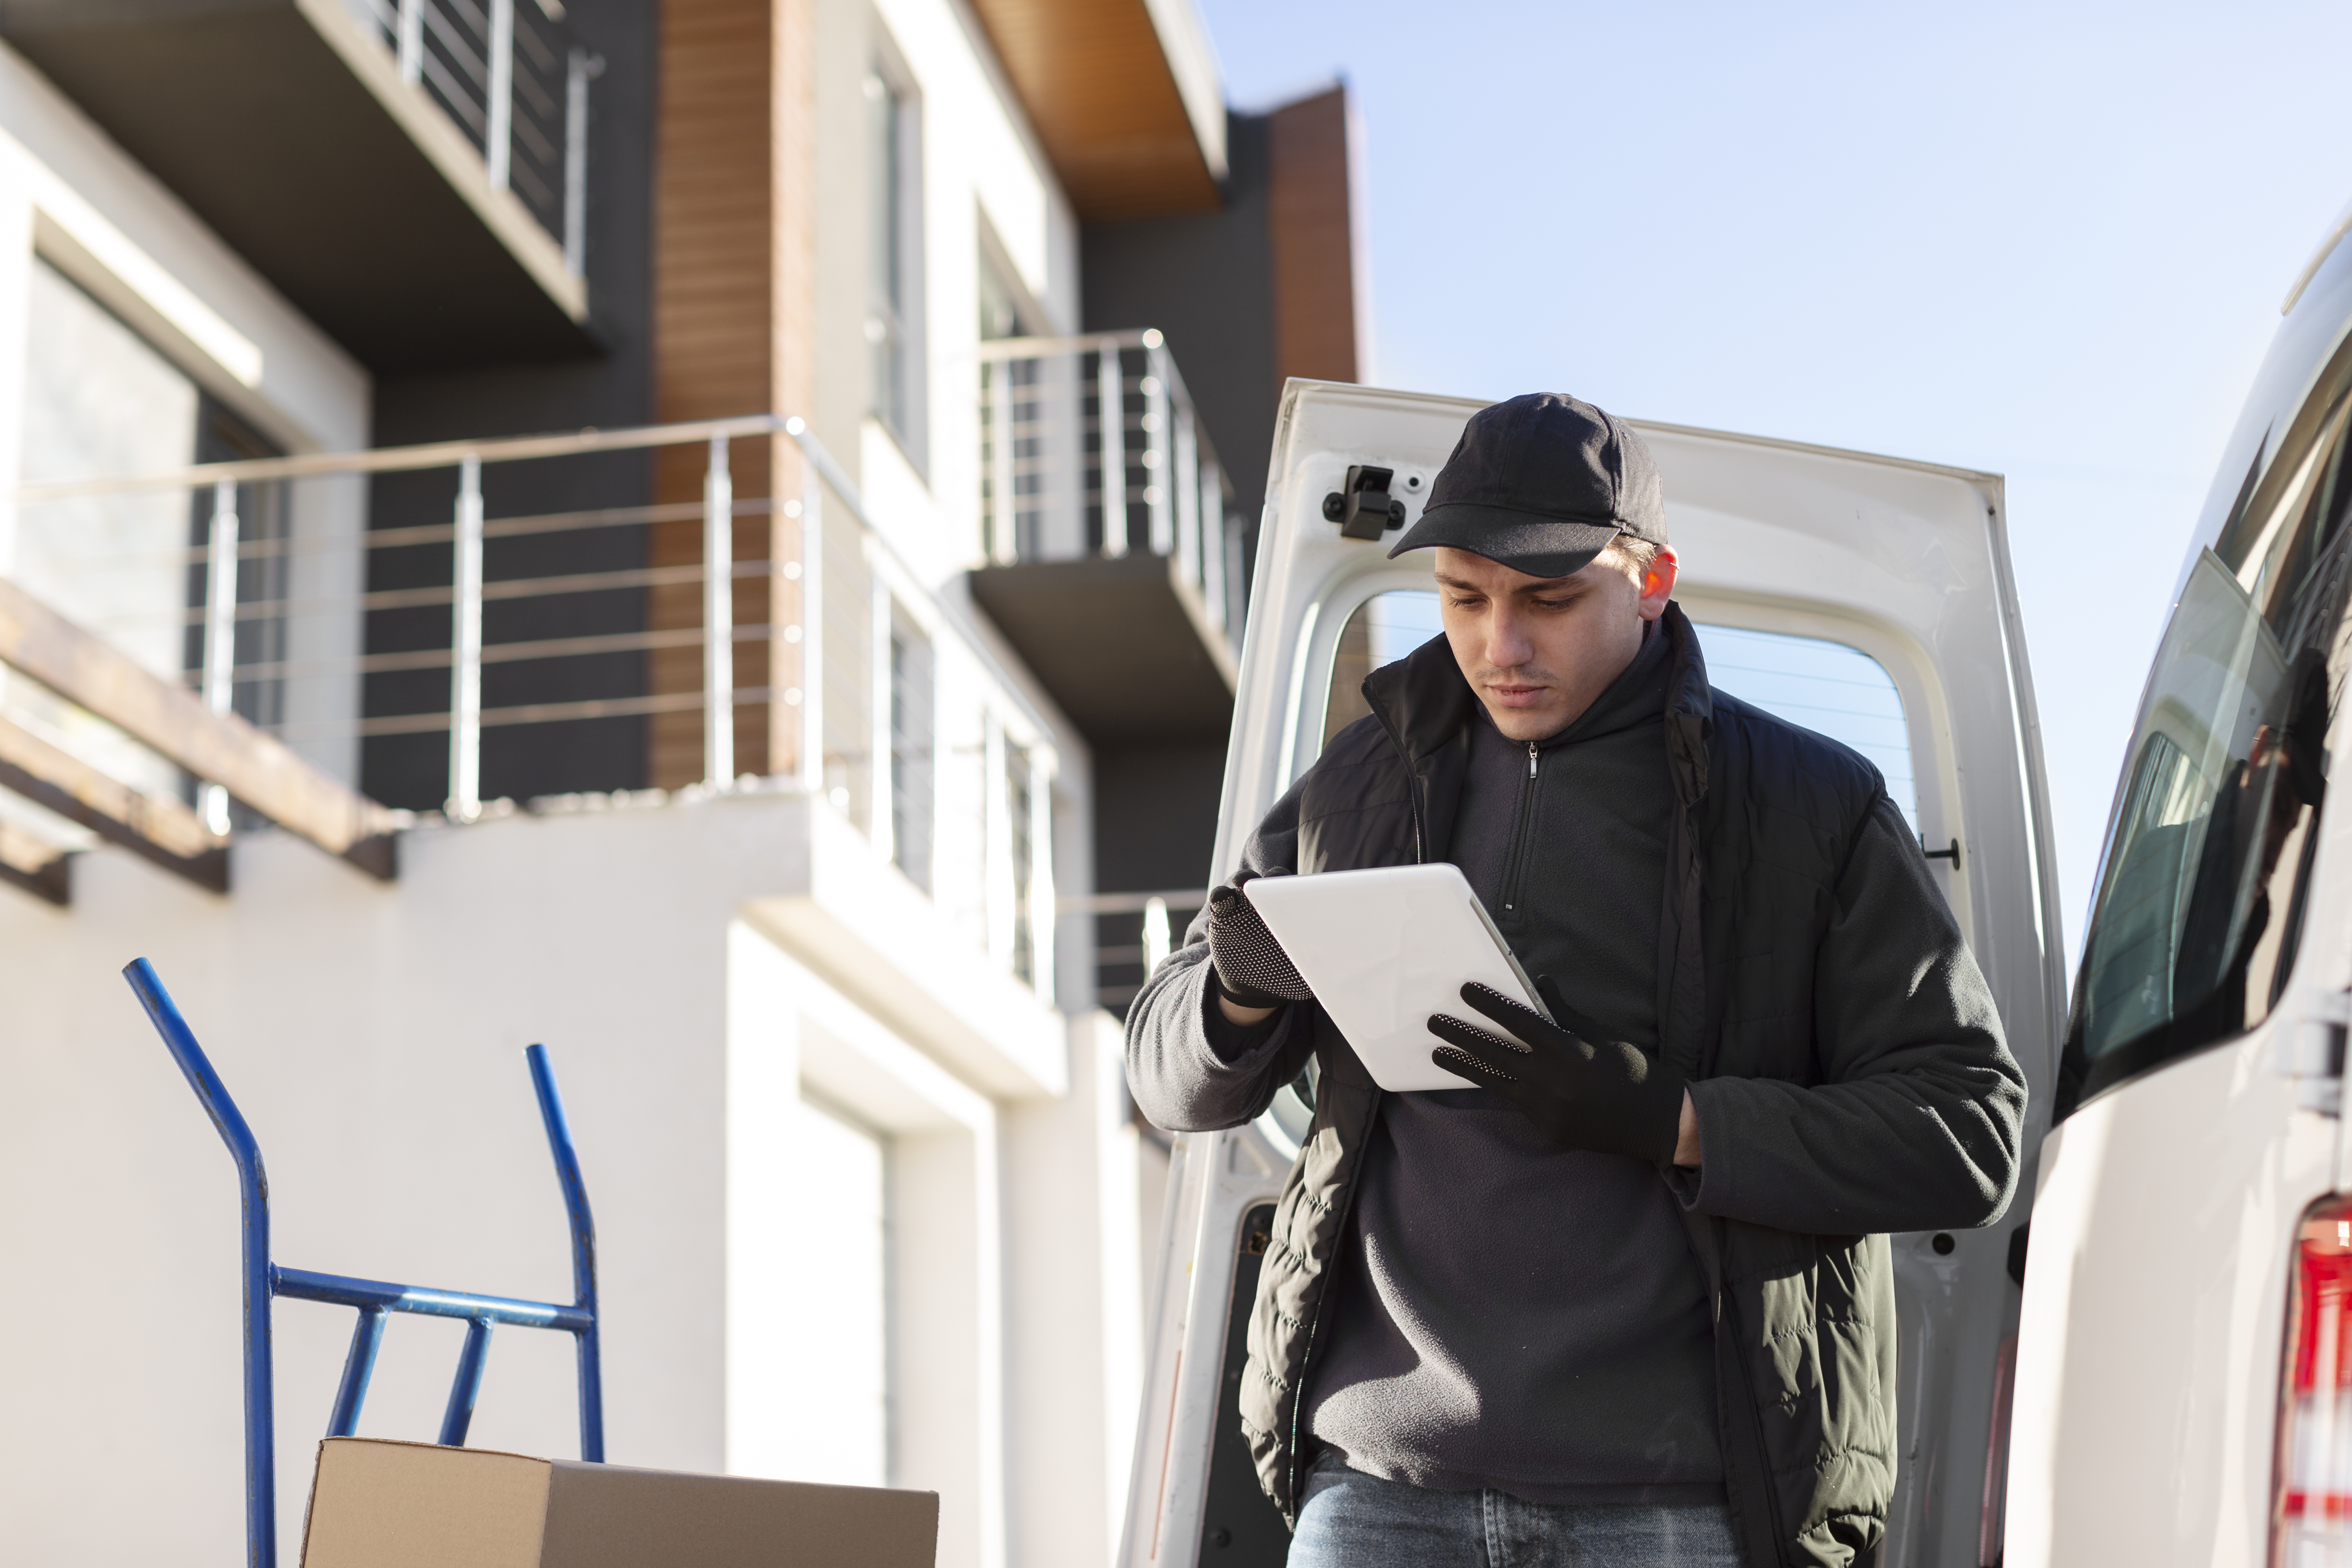
If your RV has been sitting in storage through the winter, don’t rush straight to the road. A quick, structured startup check can prevent breakdowns, leaks, and expensive repairs. In Burnet, TX, where heat, dust, and changing weather conditions can impact stored vehicles, this step is even more important. Here’s a simple, complete checklist to get your RV road-ready for spring.
Why Spring Startup Checks Matter
Even in Central Texas, storage can take a toll on your RV. Common issues after storage:
- Battery drain or failure
- Tire pressure loss and cracking
- Seal damage from sun exposure
- Dust buildup and possible pest activity
Catching these early helps you avoid problems during your first trip.
Step 1: Inspect the Exterior
Start with a full walk-around of your RV.
What to check:
- Roof for cracks, soft spots, or damaged sealant
- Seals around vents, windows, and doors
- Sidewalls for streaks or signs of leaks
What to do:
- Reseal any visible gaps
- Clean off dirt and debris
- Check storage compartments for moisture or pests
This step helps prevent water damage, which is one of the most expensive RV issues.
Step 2: Check Tires and Wheels
Your tires carry the entire load, so don’t skip this.
Inspect for:
- Low tire pressure
- Cracks or dry rot on sidewalls
- Uneven tread wear
Action steps:
- Inflate to recommended PSI
- Tighten lug nuts if needed
- Replace tires older than 5–7 years
If your RV has been sitting in one spot, watch for flat spots during your first drive.
Step 3: Test Battery and Electrical Systems
Batteries often lose charge during storage.
Start with:
- Reconnecting the battery
- Cleaning corrosion from terminals
Then test:
- Interior and exterior lights
- Power outlets
- Slide-outs and leveling systems
If the battery struggles to hold a charge, it’s better to replace it now than deal with issues later.
Step 4: Flush the Water System
Water systems can develop bacteria or leaks during storage.
What to do:
- Drain any old water
- Sanitize the freshwater tank
- Run clean water through all faucets
Check for:
- Leaks under sinks
- Drips around connections
- Proper water pressure
Also test the water heater to make sure it heats properly.
Step 5: Inspect Propane and Appliances
Before using any gas-powered system, check for safety.
Inspect:
- Propane tank condition and connections
- Valves and hoses for damage
Test appliances:
- Stove burners
- Refrigerator (both electric and gas modes)
- Furnace and water heater
Always check for leaks using a proper solution—never an open flame.
Step 6: Check Engine and Fluids (Motorized RVs)
If you have a motorhome, this step is critical.
Check fluid levels:
- Engine oil
- Coolant
- Brake fluid
- Transmission fluid
Start the engine:
- Let it idle and listen for unusual sounds
- Watch for warning lights on the dashboard
Also inspect belts and air filters and replace them if worn or dirty.
Step 7: Inspect the Interior
Now move inside your RV.
Look for:
- Mold or mildew запах (especially in corners and cabinets)
- Signs of pests (droppings, chewed materials)
- Moisture buildup
Test:
- Air conditioning unit
- Fans and vents
- Lights and outlets
Give the interior a quick clean to remove dust and odors before your trip.
Step 8: Check Safety Equipment
Safety items are easy to forget but essential.
Make sure these work:
- Smoke detector
- Carbon monoxide detector
- Fire extinguisher (check pressure level)
Also:
- Restock your first aid kit
- Replace old batteries in flashlights
These small checks can make a big difference in an emergency.
Step 9: Do a Final Road Check
Before heading out, run through a final checklist.
For towable RVs:
- Inspect hitch and coupler
- Check safety chains
- Test trailer brakes
For all RVs:
- Confirm brake lights and turn signals
- Check mirrors and visibility
Take a short test drive:
- Listen for unusual noises
- Test braking and handling
This helps catch any last-minute issues.
Pro Tips for RV Owners in Burnet
- Start your checks early before peak travel season
- Visit your RV periodically during storage to spot issues sooner
- Use covered storage when possible to reduce sun damage
- Keep moisture absorbers inside during storage months
Burnet’s heat and dust can add wear over time, so regular checks go a long way.
When to Consider a Professional Inspection
You may want expert help if:
- Your RV has been stored for 6+ months
- You notice leaks, damage, or electrical issues
- You’re unsure about any system
A quick inspection can prevent much larger repair costs later.
Final Thoughts
Getting your RV ready after winter storage doesn’t have to be complicated. A simple checklist can help you avoid the most common problems and travel with confidence. Taking the time now means fewer surprises on the road—and more time enjoying your trip.
Categories